sparepartzone

Author name: Julia Smith

I am an automobile engineer with more than ten years of experience in the field. I like giving my readers accurate information and ensuring that they acquire the best components for their vehicles.

Automatic Transmission Replacement Cost

Automatic Transmission Replacement Cost – What Should Be Your Budget?

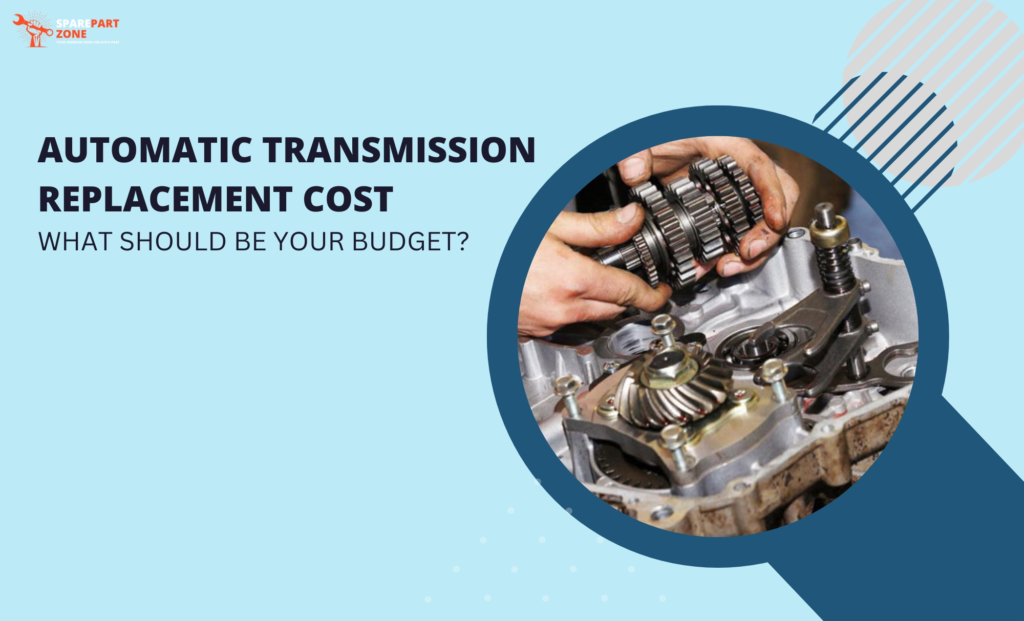
Automatic transmission is a complex system that uses a combination of mechanical, hydraulic, and electronic components to smoothly and automatically change gear ratios as a vehicle moves. The automatic transmission replacement cost can vary widely depending on several factors, including the make and model of the vehicle, the type of transmission replacement, and the location and experience of the mechanic performing the work. Let’s dive into the details and take a complete overview of automatic transmission. How Much Does an Automatic Transmission Replacement Cost? Here are some rough estimates for the cost of replacing the automatic transmission. Budget replacement: Automatic transmission price of replacement typically involves installing a used or remanufactured transmission that has been refurbished to factory specifications. This type of replacement can cost between $1,000 and $3,000, depending on the vehicle and the quality of the replacement transmission. Mid-range replacement: A mid-range automatic transmission replacement typically involves installing a new or rebuilt transmission that has been upgraded with better components or features. This type of replacement can cost between $3,000 and $5,000. The price variation is mainly because of the car model and the quality of the replacement transmission. High-end replacement: A high-end automatic transmission replacement includes installing a custom-built or high-performance transmission that has been specifically designed for the vehicle. Automatic transmission service cost is almost $5,000 or more. When Should You Replace a Faulty Automatic Transmission? Replacing a faulty automatic transmission can be a significant expense, but keeping your vehicle running smoothly and safely is often necessary. Here are some signs that you may need to replace your automatic transmission: Slipping gears: If your transmission is slipping between gears or not engaging properly, it may be a sign of internal damage or wear. It can cause your vehicle to lose power, accelerate slowly, or even fail to move. Delayed shifting: If you notice a delay or hesitation when shifting between gears, it may be a sign that your transmission is failing. It can be particularly noticeable when accelerating from a stop or shifting into reverse. Rough shifting: If your vehicle is shifting gears roughly or jerkily, it may be a sign of a worn or damaged transmission. It can also cause your vehicle to vibrate or shake while driving. Fluid leaks: If you notice a puddle of fluid under your vehicle, it may be a sign of a transmission fluid leak. It can cause your transmission to overheat, leading to internal damage or failure. Warning lights: If your vehicle’s “check engine” or “transmission” warning lights come on, it may be a sign of a problem with your transmission. This can be caused by a variety of issues, from low fluid levels to internal damage. If you are experiencing any of these symptoms, it is important to have your vehicle inspected by a qualified mechanic as soon as possible. In many cases, minor transmission problems can be repaired before they become more serious and require a full replacement. However, if your transmission is faulty or worn, a replacement may be necessary to keep your vehicle running safely and reliably. How to Replace a Detrimental Automatic Transmission? Replacing a faulty automatic transmission can be a complex and labor-intensive process that experienced mechanics should only attempt with the proper tools and equipment. Here is an overview of the general steps involved in replacing an automatic transmission: Drain the fluid: The first step in replacing a transmission is to drain the fluid from the old transmission. One can do this by removing the drain plug or by using a fluid pump to extract the fluid. Remove the old transmission: Once the fluid has been drained, the old transmission can be removed from the vehicle. This typically involves disconnecting the drive shaft, wiring harness, and other components and then using a transmission jack to lower the transmission from the vehicle. Install the new transmission: After removing the old transmission, it needs installation of the new one is in its place. This involves carefully aligning the transmission with the engine and mounting it to the vehicle. Reconnect the components: Once the new transmission is in place, the various components that were disconnected during the removal process can be reconnected, including the drive shaft, wiring harness, and other components. Fill with fluid: After the transmission installation and reconnection of all the components, fill the transmission fluid at the proper level. Test and adjust: After the new transmission installation and filling up of fluid, one should start the vehicle. And also, one should test the transmission to ensure it is functioning properly. Adjustments are there to the shift linkage or other components to ensure proper operation. What is Automatic Transmission? Automatic transmission is a type of vehicle transmission that automatically changes gear ratios as the vehicle moves, allowing the driver to focus on steering and accelerating without needing to shift gears manually. In an automatic transmission, a hydraulic system, electronic sensors, and a computer-controlled gearbox work together to adjust the vehicle’s gear ratios based on factors such as speed, engine RPM, and throttle input. This allows the vehicle to transition between gears without any input from the driver smoothly. However, most automatic transmissions have a “park” mode which locks the transmission and prevents the vehicle from moving, as well as “drive” modes for forward motion and “reverse” modes for backing up. Some newer automatic transmissions also have additional modes, such as “sport” mode or “manual” mode, which allow the driver to control the gear selection manually. How Does Automatic Transmission Work? ●     Automatic transmissions use a combination of mechanical, hydraulic, and electronic components to change gear ratios automatically as a vehicle moves. However, the main components of an automatic transmission include the torque converter, planetary gear sets, hydraulic system, and control module. ●     The torque converter is the first component in the transmission and connects the engine to the transmission. It works by using a fluid coupling to transfer power from the engine to the transmission. Allowing the engine

Toyota Transmission Repair

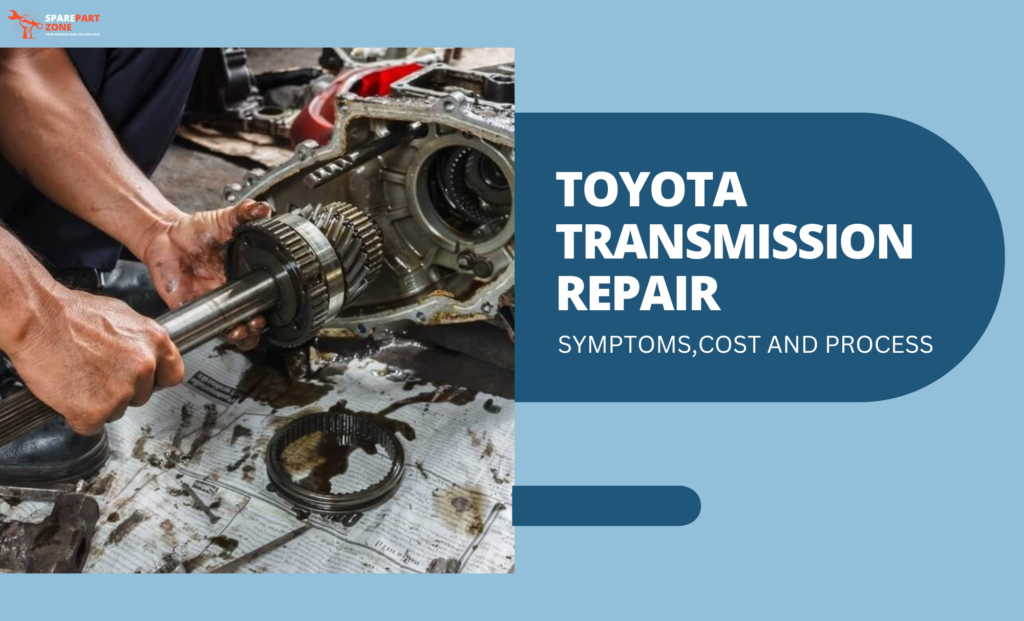
Toyota Transmission Repair: Symptoms, Cost, and Process

Toyota transmissions are known for their reliability and durability, but like any mechanical component, they can experience wear and tear over time. Regular maintenance and prompt repairs can help keep your Toyota transmission running smoothly for years to come. However, there can be a need for Toyota transmission repair because of signs of slipping gears, grinding noises, burning smells, and more. If you notice any of these symptoms, it’s important to have your vehicle inspected by a qualified mechanic. In this blog, we are going to discuss how to do the repair and the needed amount for the process. Symptoms Indicating Toyota Transmission Repair Toyota transmissions are designed to provide reliable and smooth shifting for your vehicle. However, over time, wear and tear can take its toll, and problems can arise. In such cases, you should consider repairing your transmission right away. Any professional mechanic can do this for you. But as an owner, you should also have a clear idea about the symptoms so that you can get it done within the right time. Here are some most known signs or symptoms that may force you to Toyota transmission repair: Slipping gears: If you notice that your Toyota is slipping out of gear or experiencing delayed engagement when shifting into gear, it could be a sign that your transmission needs to be repaired. Rough shifting: If your Toyota is shifting gears roughly or making strange noises during shifting, it could indicate a problem with your transmission. Burning smell: A burning smell coming from your Toyota’s transmission could be a sign of overheating, which can cause significant damage if not addressed promptly. Fluid leaks: If you notice fluid leaking from your Toyota’s transmission, it could indicate a damaged gasket, seal, or hose. A low fluid level can cause the transmission to fail, so it’s important to have any leaks repaired as soon as possible. Warning lights: If the check engine light or transmission warning light on your Toyota’s dashboard comes on, it’s a clear indication that you should have your transmission inspected by a qualified mechanic. Unusual noises: Strange noises such as grinding, whining, or buzzing coming from your Toyota’s transmission can be a sign of a problem. Delayed shifting: If you experience a delay when shifting gears, this could be a sign that your transmission is having trouble engaging. Necessary Steps for Repairing Toyota Transmission Toyota transmissions require specialized knowledge and tools to repair. There are professional mechanics to do this task. If any of the owners have experience in auto repair work, he/she can do it on their own. But for the best result, a user should have a proper guidebook. Here are some steps that a qualified mechanic may take to repair a Toyota transmission: Diagnostics: The first step in repairing a Toyota transmission is to diagnose the problem. The mechanic may use a scan tool to read error codes and visually inspect the transmission to identify any apparent issues. Fluid check: The mechanic will also check the fluid level and condition of the transmission fluid. If the fluid is dirty or has a burnt smell, a user should replace it right away. Repair or replace damaged components: Depending on the nature and severity of the problem, the mechanic may need to repair or replace damaged components, such as clutch packs, valve bodies, solenoids, synchro rings, clutch discs, bearings, belts, pulleys, or sensors. Reassembly: Once the damaged components have been repaired or replaced, the mechanic will reassemble the transmission and replace any necessary seals or gaskets. Fluid flush and refill: The mechanic will then flush the transmission fluid and replace it with fresh fluid that meets Toyota’s specifications. Road test: The final step in a Toyota transmission repair is to road-test the vehicle to ensure that the transmission is operating smoothly and no issues are there anymore. What is the Cost of Repairing Toyota Transmission Repair? Toyota transmission repair costs can vary depending on a number of factors, such as the model and age of your Toyota, the severity of the problem, and the location of the repair shop. On average, Toyota transmission repair costs can range from $1,000 to $3,500. However, automatic transmission repairs can cost $5,000 to $7,000 or more. One common issue with Toyota transmissions is the failure of the torque converter, which can cost between $800 to $1,200 to repair. Other common transmission problems include issues with the solenoid, clutch, or valve body, which can cost anywhere from $400 to $1,500 to repair, depending on the extent of the damage. It’s important to note that preventative maintenance can help reduce the likelihood of transmission problems occurring in the first place. Regularly checking and changing the transmission fluid, as well as addressing any issues as soon as they arise, can help prolong the life of your Toyota’s transmission and save you money on costly repairs in the long run. If you do need transmission repair for your Toyota, it’s important to find a reputable repair shop that specializes in Toyota transmissions. Look for a shop with experienced mechanics, good reviews, and a warranty or guarantee on their work. You can also ask for quotes from multiple repair shops to compare prices and ensure you’re getting a fair deal. Frequently Asked Questions

Ambient Temperature Sensor

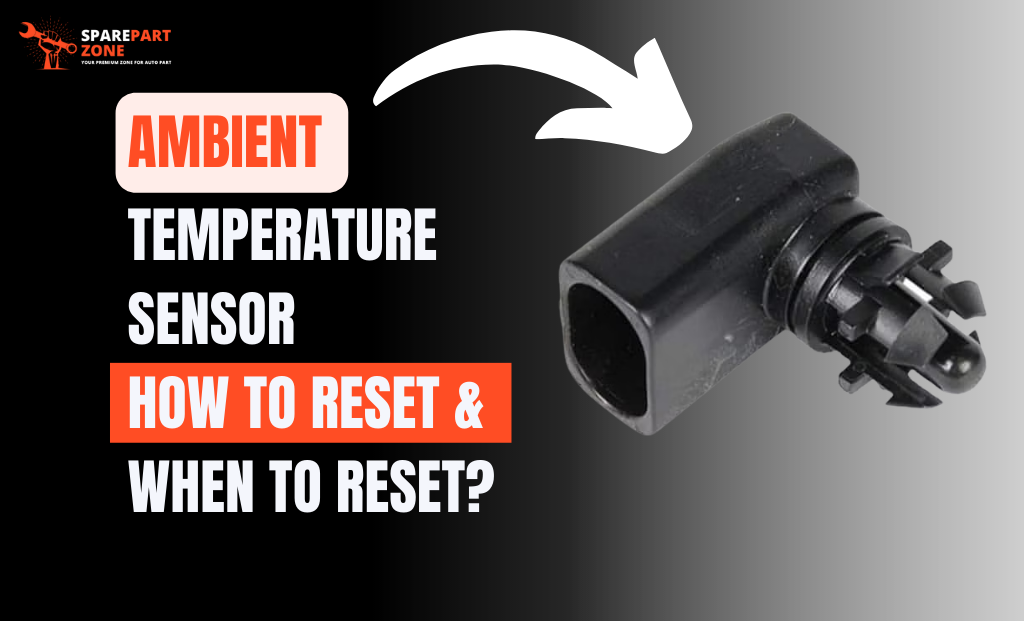
Ambient Temperature Sensor – How to Reset & When to Reset?

Modern vehicles are equipped with various sensors to monitor the different aspects of a car’s operation. One such sensor is the ambient temperature sensor(ATS), which is responsible for measuring the temperature outside the vehicle. It functions basically as a resistor whose resistance value varies with temperature. As the temperature rises, the resistor’s resistance lowers. Depending on the differential between these two data, the temperature control system modifies elements like the blower motor speed.  In this article, we will discuss what a car ATS is, how it works, and why it is important. What is Ambient Temperature Sensor? The ambient temperature sensor, also known as the outside air temperature sensor, is a small electronic device that measures the temperature outside the vehicle. It is typically located behind the grille or front bumper of the car, where it can sense the air temperature directly. Working Process Of an Ambient Temperature Sensor The ATS works by using a thermistor, which is a type of resistor that changes its resistance based on temperature. However, the sensor measures the resistance of the thermistor and uses that value to determine the temperature outside the vehicle. The temperature sends the reading from the ambient temperature sensor to the car’s electronic control unit (ECU), which uses the information to adjust various systems, such as the climate control system, engine management system, and transmission system. Importance of  an Ambient Temperature Sensor in a Vehicle When Should You Reset a Car’s Ambient Temperature Sensor? If you are experiencing issues with your car’s climate control system, you may need to reset the ambient temperature sensor. However, resetting the sensor may not always be necessary or helpful. Here are some situations when you may want to consider resetting the ambient temperature sensor in your car: If you have recently replaced the battery or disconnected the car’s power source:  In some cases, disconnecting the car’s power source can cause the ATS to stop working properly. In this situation, resetting the sensor may help it to start working correctly again. Temperature readings on your car’s climate control system seem inaccurate:  If the temperature readings on your car’s climate control system seem inaccurate. Resetting the ambient temperature sensor may help to correct this issue. Climate control system is not working properly:  If your car’s climate control system is not working properly, resetting the ambient temperature sensor may help to diagnose or fix the problem. However, it’s worth noting that, in some cases, resetting the ATS may not solve the issue with your car’s climate control system. Moreover, it’s a good idea to have a professional mechanic take a look at your car to diagnose it. How to Reset the Ambient Temperature Sensor? The process for resetting the ATS in a car can vary depending on the make and model of your vehicle. Here are some general steps you can follow to reset the ATS: How Much Does it Cost to Reset a Car’s Ambient Temperature Sensor? The reset process of a car’s ambient temperature sensor typically does not require any parts or labor costs. One can do it easily and quickly with the right tools or instructions. The cost will depend on how the reset is performed. If the reset can be done manually by the car owner, such as by using the car’s onboard diagnostic system or resetting the computer, there may be no cost at all. However, if the reset requires the use of specialized equipment or the services of a mechanic or technician, there may be a cost associated with the service. In general, the cost of resetting a car’s ATS should be relatively low, usually ranging from $50 to $150, depending on the type of service required and the location of the service provider. However, it is always a good idea to get a cost estimate from the service provider before authorizing any work. Ambient Temperature Sensor – FAQs

Honda odyssey transmission problems

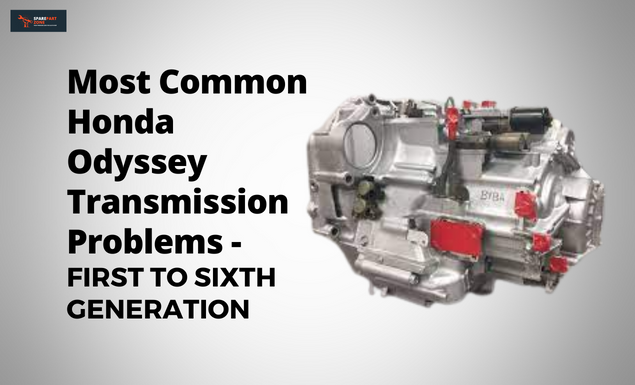
Most Common Honda Odyssey Transmission Problems – First to Sixth Generation

If you turn to the internet and search for problems in Honda Odyssey, you will surely find many things. If you are an owner of a Honda Odyssey, then you may be aware of the numerous problems. Honda has recalled this model multiple times over the past 20 years. Honda Odyssey transmission problems were one of the major factors behind numerous withdrawals from the market. The Honda minivan is quite popular in the US market. However, in the history of its 20 overs, there have been multiple Honda transmission issues, especially in the early 2000s. Some were very common, and some were catastrophic. Honda has tried to resolve this by changing the 4-speed automatic car to a 5-speed. In the following blog, we are going to take a closer look at Honda Odyssey transmission issues generation-wise. Honda Odyssey Transmission Problems – List of Transmissions Used Over Years The Honda Odyssey has been in production for over 25 years. There are five generations of the model. It has been fitted with different variants of the H5 transmission throughout its lifespan. Since there were continuous transmission problems in the Honda Odyssey, various versions of the H5 transmission were used in it to rectify the troubles. Models from the second generation underwent two distinct transmissions. It had a 4-speed at first, but Honda changed it to a 5-speed. The fifth-generation Odyssey currently includes a 10-speed transmission. It is 29 lbs lighter than the prior 6-speed transmission. It is widely regarded as one of the best transmissions ever installed in an MPV. Honda Odyssey Transmission Problems 2000 – 2022 Since Honda is in the fifth generation, there have been numerous changes in the car. Each time Honda has rectified the previous problems. In regard to transmission problems in Honda Odyssey, the second generation was the worst. We will discuss the transmission problem and the cost of fixing the issue of various generations. Second-Generation Odyssey Transmission Problems The Honda Odyssey’s first-generation spans from 1994 to 1999. The car was a huge success in the Japanese market but was unable to attract customers in the USA. The major shortcoming was the compact size of the car. In the second generation, the 2000-2001 Honda Odyssey transmission issue was plagued by a defective bearing prone to breaking, dispersing metal shards that clogged fluid channels in the gearbox, causing it to shift unpredictably. B7XA 4-speed transmission was available in the 2000 to 2001 cars.  In the year 2002, Honda replaces the B7XA 4-speed transmission with a BYBA transmission 5-speed. But the problem continues to persist. The third-gear clutch pack wears down very easily. As the clutch friction material wore down, it spat out pieces that got lodged in the transmission case. It causes blocking up of the fluid lines and leads to jerky shifting.  The main 2003 Honda Odyssey transmission problems include damaged gear teeth or full gear failure between the second gears on the secondary shaft and countershaft. It was basically due to extreme heat accumulation. The second generation was the worst segment of the Honda Odyssey. Numerous complaints about the 2003 model’s transmission jerking when shifting, whining, failing, slipping, and shaking at higher speeds was the reason behind it. 2005 – 2010 Third Generation Honda Odyssey Transmission Problems Transmission shaking during acceleration, transmission humming, and torque converter shifting was among the most common transmission issues in the 2005, 2006, and 2007 Honda Odyssey. A transmission hum often signals that your transmission is starting to malfunction, which eventually results in transmission failure. The jerky or clunky shifting was the main reason behind the failure of the torque converter.  2008, 2009, and 2010 Honda Odyssey transmissions suffer from ignition switch problems. When the gear changer is not in the park position, the ignition switch does not hold its position. The reason behind this was the distorted interlock lever inside the ignition switch. The Odyssey could unexpectedly roll away and cause injury or property damage if the ignition key is taken out before the transmission is in Park. It causes Honda to recall many of its cars for safety purposes. Fourth Generation 2011 Honda Odyssey Transmission Troubles After a slew of errors in the second and third generations, Honda managed to rectify most of the errors. The 2011 and 2012 manufactured cars had normal transmission issues. But later fourth, generation cars in 2014 had some serious issues. Transmission problems have been reported in the 2014 and 2015 Honda Odyssey models owing to rattling and jerking while shifting gears. On the other hand, a software problem also causes a minor delay, surge, or judder when shifting into second, third, or fourth gear. It was a common transmission problem in the 2014 Honda odyssey. However, in some cars, the problem was not fixable. Customers choose complete transmission replacement. Fortunately, the solution only sometimes necessitated a complete replacement of the transmission system. These issues can be resolved with a simple transmission fluid cleanse or software update. Fifth Generation 2016-2019 Honda Odyssey Transmission Problems The fifth generation Honda Odyssey cars have a 9-speed transmission. It was a successful car. However, due to a transmission that could unexpectedly shift while driving, Honda has to recall over 50,000 Odysseys. Due to this uneven shift, there was a tapping noise from the gearbox. It has the potential to harm the rod that Park uses to engage. It was the main problem in the 2017 and 2018 Honda Odyssey transmissions. Once that is compromised, the vehicle will no longer be able to remain in Park. That is a significant safety hazard. The main reason behind the transmission problem was loose battery terminals or non-operational batteries. It causes it to restart intermittently. When the unit is forced to restart, the transmission may automatically shift into the park, which might be extremely dangerous while driving. Honda fixes this issue by overriding the software. Sixth Generation – 2021 Honda Odyssey Transmission Problems After a lot of improvements and makeovers, Honda manages to reduce the transmission problems drastically. However, there were

2004 ford f150 transmission cooler lines

How To Replace Transmission Lines On 2004 Ford F150?

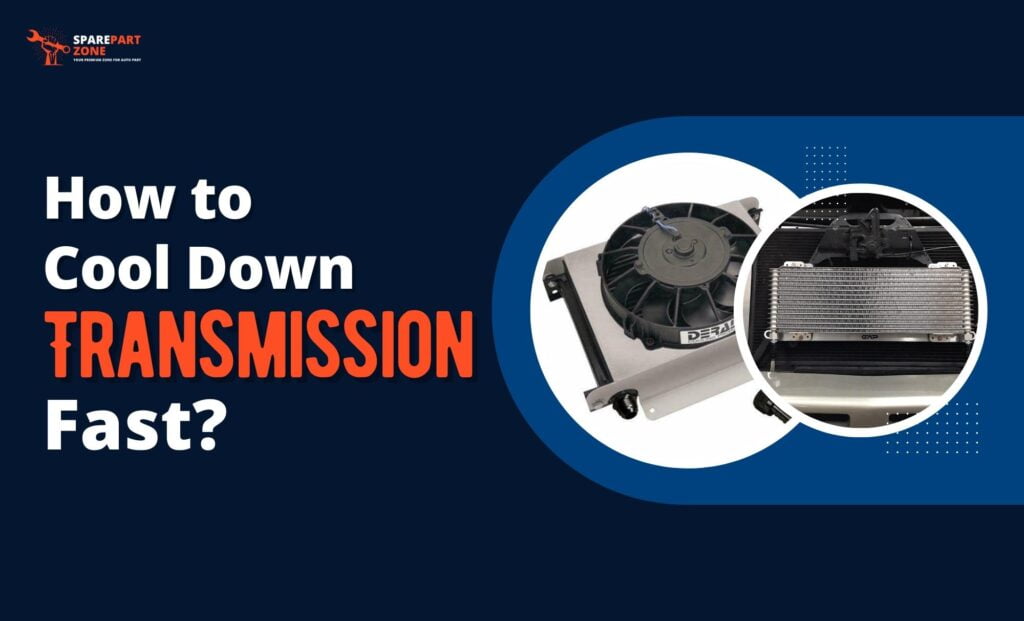
Among all the car parts, the transmission is one of the essential parts for driving a car. The transmission should be in good condition and healthy. Transmission generates power for the vehicle. As a result, it often gets heated. There should be transmission cooling lines for cooling it when needed. We consider these lines as a vital part of the car. The transmission fluid works as a cooling fluid. It travels across the transmission to absorb the extra heat. 2004 Ford f150 transmission lines help the vehicle to make the transmission cool down. Let’s know how the transmission lines work and how important the replacement is.  How Do 2004 Ford F150 Transmission Lines Work? As we know, the transmission lines of the ford F150 are there to cool the transmission. When the transmission gets overheated, the transmission fluid does its job via transmission cooling lines. Transmission fluid travels from the transmission to the radiator via these lines. After the cooling process, the fluid returns to transmission via these lines. And this process continues. The transmission overheating is not a healthy sign, so this process is significant for its health. A 2004 Ford f150 transmission lines are as important as the transmission itself. Symptoms Of Damaged Transmission Lines If the transmission gets damaged, how would you get that? Does the transmission show any signs? If you see any of these signs, this is possible that there is a leak in transmission lines or they are damaged. Steps Of Replacing the 2004 Ford F150 Transmission Lines If your car gearbox is damaged or has a leak and you have to replace it, then you can go to a professional mechanic or just follow these easy and simple steps to DIY. You can do a transmission cooler line replacement for Ford F150 with these processes. After following all these steps, the 2004 ford f150 transmission line replacement is done. Replacement Of Transmission Line of Ford F150- Source and Cost Now, if you want to replace your existing 2004 Ford F150 transmission cooler lines, then you can get it from sources. First, you can search in local shops. It is not a rare piece, so you should get it from there. Or, you can ask any other existing user of the same model. And the third option that you have is online trusted websites like Spare Part Zone. It is an online trusted website that sells used parts that are in good condition. The average cost of a 2004 Ford f150 automatic transmission line replacement is between $100-$500. Well, it depends on many factors, like the year, model, or manufacturer. Frequently Asked Questions about F150 Transmission

2014 Honda CRV engine air filter

Honda CRV Air Filter – When Should It be Changed?

Honda’s cars are popular for their outstanding performance and comfort under budget. One of its famous models is Honda CRV. It was launched in 1995 and has gone through 5 generational changes. In the following blog, we will cover the warning signs of the 2014 Honda CRV Engine Air Filter degradation and its replacement cost. The mixture of fuel and air is important for the car’s performance. It is a good practice to fill up your car with high-octane fuel to increase your engine life. Another key factor is an air filter. The engine air filter present in your car removes dust, leaves, and other contaminants from the air. If you own a 2014 CRV, there will be various issues if the engine does not receive enough air or if the air filter is unclean or blocked. That’s why engine air filters require regular maintenance and replacement. Honda CRV 2014 Engine Air Filter – Location Engine air filter found in the engine bay. It removes dangerous particulates that could harm your car’s engine, just like the cabin air filters do. The build-up can compromise your engine’s performance. Consequently, result in a loss of power and fuel. So, if you replace your engine air filter at the right intervals, it can protect your engine internally. Indicators of Degrading CRV Air Filter A quick visual inspection will tell you when a new engine air filter is required. With excessive use, air filters develop a thick layer of dust over them. Some other indicators which tell whether your engine air filter needs replacement in the Honda CR-V are: Moreover, the warning signs of the malfunctioning air filter of Honda CRV are: Steps to Replace Honda Engine Air Filter Replacing an air intake filter is an easy task. You can save dollars if you decide to DIY. Here are quick steps for Honda engine air filter replacement. Step 1: Locate the engine air filter housing by first lifting the hood of your car. You can see the location of the prior air filter there. Step 2: Simply pull out the fasteners and remove the air filter box head. After that, remove the air filter to open the air filter box. Step 3: With the rubber rim facing up, insert your fresh air filter. Make sure it is fit properly. Step 4: Put the head of the housing back and tighten the fasteners. The engine air filter is replaced. How Often Should You Replace Honda CRV 2014 Air Filter? You should always have your mechanic check your filters during each appointment. It is because any foreign elements might harm your engine and be extremely expensive to replace. The spare part zone suggests inspecting your engine air intake filter every 10,000 miles. Weather and driving conditions affect the longevity of an air filter. But it also depends on your driving style. So, it is necessary to change them every 20,000 to 35,000 miles. You should change your Honda CRV air filter more frequently if you travel on dirt roads or often stop and start your car. Similarly, you should check and replace the cabin air filter. It is also best practice to refer to the maintenance guide in your user manual. Honda CRV 2014 Filter Replacement Cost The cost of an aftermarket air filter suitable for the Honda CRV engine can cost around you $30 to $45. The price can vary from brand to brand. On the other hand, the cabin air filter usually costs between $15 to $30. The time to replace both air filters is less than half an hour. The labor cost can be between $20 to $30. So, the total charges for replacement can be between $60 to $70. You can save your money by choosing to replace it on your own.

headlights flicker when driving

Why Do Headlights Flicker When Driving – Top 5 Possible Causes?

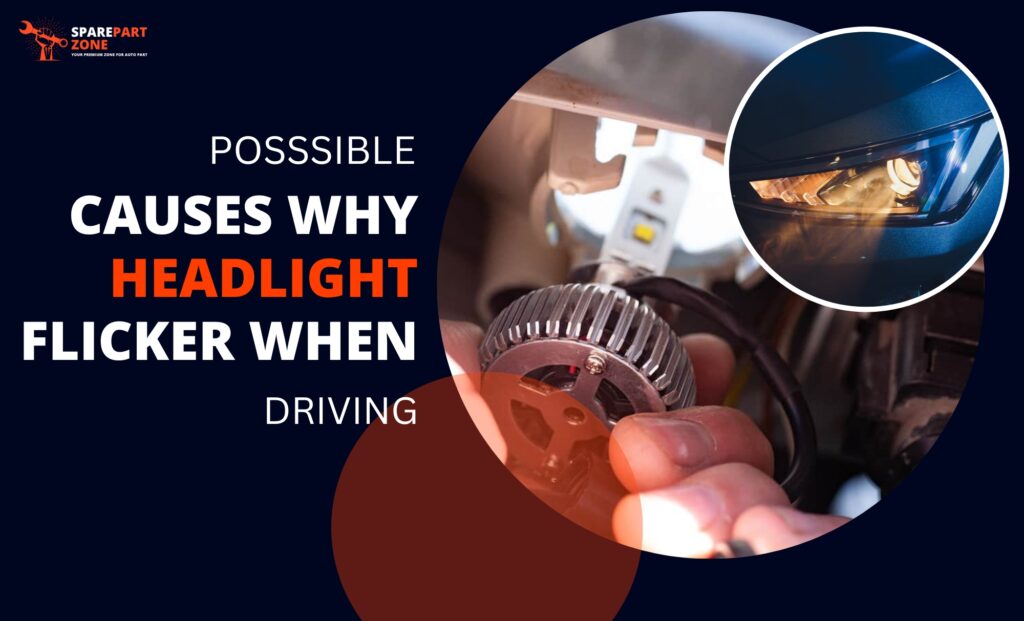
Headlights are a very important part of any vehicle, but like any other auto part, they are also prone to damage. Headlights also have a life after that. They start to cause problems and are unable to function optimally. Headlights flicker when driving is the most common problem people face. It causes disturbance while driving, and it’s not even safe to drive, especially at night, if your led headlights are not working. Flickering isn’t usually caused by excessive lighting, though. It may occasionally result from a different underlying issue. Everything you need to know about headlight flickering and the reasons you shouldn’t drive with such lights are covered in this guide. Reasons Why Headlights Flicker When Driving If your headlight turns on then goes out regularly, then here are some most common causes: Dying battery A dying or dead battery is one of the most common causes for a headlight to start flickering while you drive. Headlights get power from the battery to keep functioning regularly, so if the battery is dead or dying, then obviously, it will cause problems with the headlight as well. Usually, a car battery’s life is around 3 to 5 years, which depends on the driving conditions. If you see that your headlights first flicker and then go off completely, then there’s definitely an issue with the battery. Failing alternator The electrical output of an automobile affects by a failed or worn-out car alternator. As a result, the headlights become inoperable, dim, or flicker. The function of the alternator is to maintain the vehicle’s battery by turning chemical energy into electrical energy. While you’re driving, a car’s alternator charges the battery. A totally dead battery recharges in 30 minutes or so. The battery in your automobile doesn’t charge correctly when the alternator malfunctions. Because of your headlights and other electrical equipment, the electrical charge quickly depletes. You will also be aware of it via the dashboard warning light on your automobile. Loose fuse or connections Your car has a whole electrical system that consists of fuses, wires, and assorted connections. These connections can get loose over time, causing the headlights to flash on and off. This can also happen if you drive a lot of rough terrains where shocks can disconnect or lose the connections. These loose connections might be tough work for you we suggest you get professional help to figure out and correct the errors. Old lamps and bulbs If you haven’t changed your headlights in a long time, it’s time that you change them because headlights are also worn out with time. Headlights on old cars eventually flicker as a result of old bulbs and lamps failing over time. Faulty Headlamp switch A broken headlight switch can prevent the electrical and electronic components in your automobile from communicating with one another. You can experience flashing headlights as a result of this. Simply installing a new headlight switch will solve this problem. Additionally, you might examine the electrical and computer systems as well as the battery alternators, relays, fuses, and switches. How To Fix If Headlights Flicker When Driving Basically, you need to verify all of the aforementioned reasons if you want to be able to remedy the issue of automobile headlights flickering. So, we’ll provide you with some advice on how to manage the circumstance. We believe that in order to achieve the greatest results, you should take your automobile to repair facilities to diagnose and fix it properly: Frequently Asked Questions on Headlights Flicker When Driving

Request a Quote